
widgetsmith怎么弄图片呢,话说不少用户都在咨询这个问题呢?下面就来小编这里看下widgetsmith设置图片与添加照片方法教程吧,需要的朋友可以参考下哦。
widgetsmith怎么弄图片? 设置图片与添加照片方法教程
1、当然你要下载安装好app,接下来仔细看哦,我们打开app,选择下面的Tools,然后选择photos。
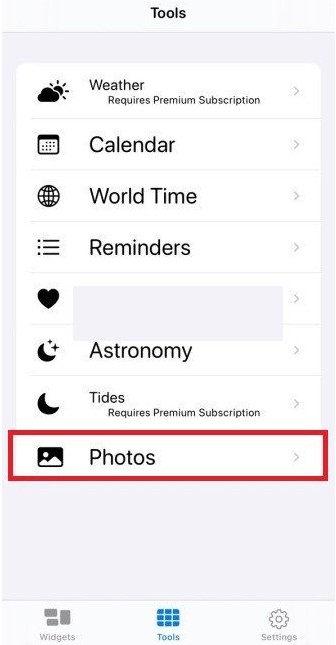
这里选择你想要展示出来的照片就可以了,后面还可以添加的。

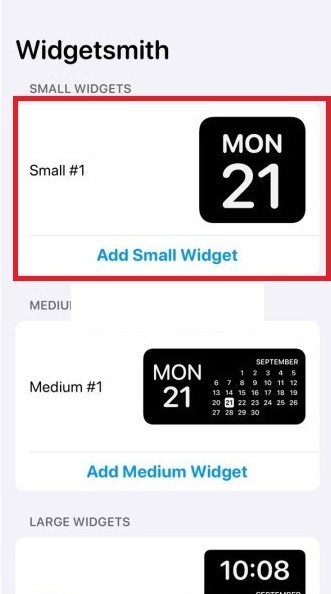
2、这里要注意了哦,回到我们的widgets,增加一个你想要的大小的小组件,这里小编以small最小的小组件为例,点击Add small widget,增加一个模板。
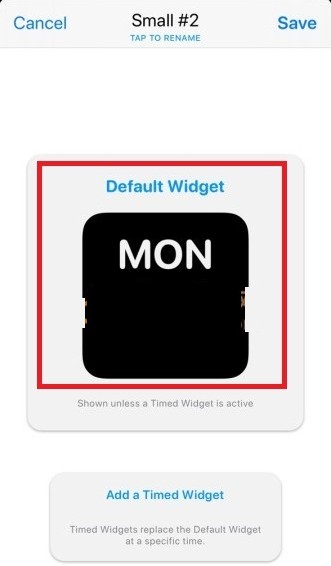
2、点击进去选择自定义。
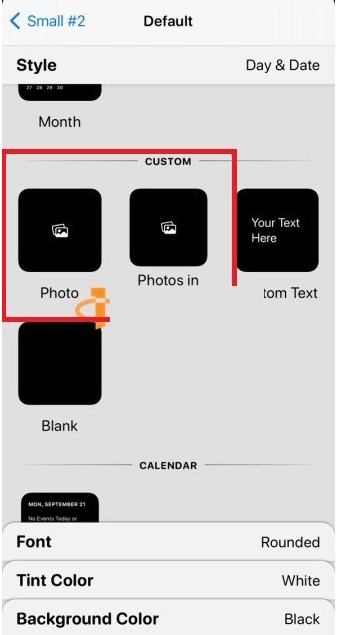
4、然后我们在风格里面style找到custom,选择photo,这两个都可以的啦。
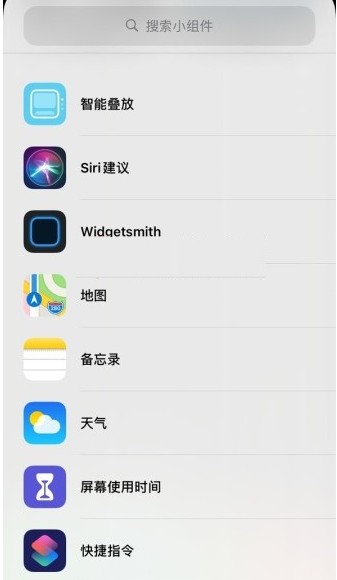
5、然后我们在桌面添加小组件,选择widgetsmith。
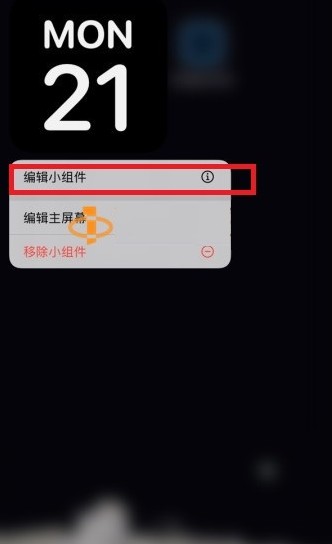
6、然后添加好之后,我们长按小组件,选择编辑小组件。
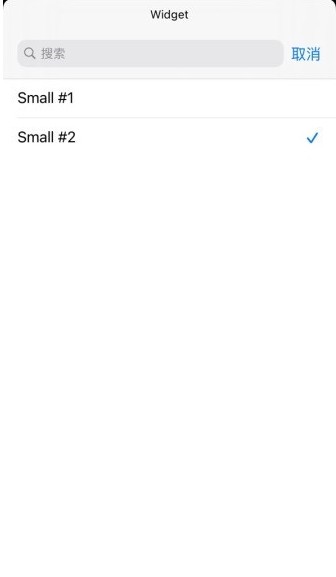
7、选择刚刚我们自定义的模板。
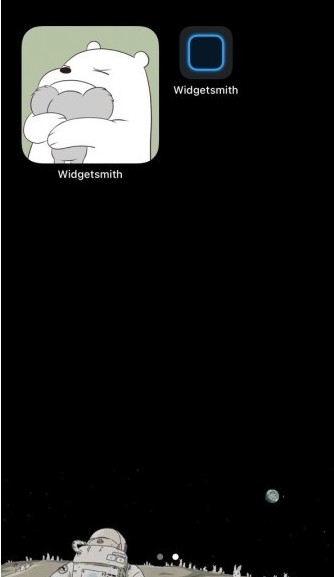
8、然后就OK啦,可以看到小组件变成了自定义的照片。
设置好之后大家可以根据自己需求选择想要展示的图片,怎么样是不是很简单,想要尝试的小伙伴快去试试吧。
以上就是小编给大家带来的全部内容,大家都学会了吗?